Creating a flashy README for your GitHub profile using HTML

Hello there!
Are you looking to spice up your GitHub profile and make it more eye-catching?
One easy way to do this is by creating an excellent README file that showcases your skills, interests, and projects.
In this blog post, I’ll walk you through the steps of creating a killer README like mine, which you can use as an example.
View My GitHub, which I use as an example for this blog.
Step 0: Set Up A Repository
In order to activate the README file on your GitHub profile, you need to create a new repository with the same name as your GitHub username.
For example, if your GitHub username is “example_user,” you should create a new repository named “example_user”.
Once the repository is created, you can add your README.md file to the repository.
Now let’s move on to creating the README file.
Step 1: Start with an introduction
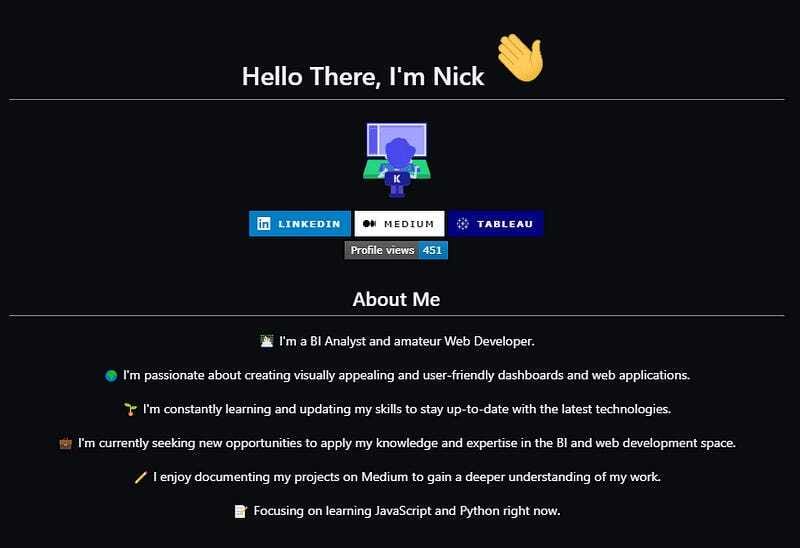
Begin by introducing yourself and your interests. You can use the following HTML code as a starting point:
<div id="header" align="center"> <h1>Hello there, I'm [your name]</h1> <img src="[insert an image of yourself or something you like]" width="200" /> <p>[briefly describe yourself and your interests]</p></div>
Step 2: Add social badges
Next, add badges for your social media profiles using the following HTML code, I choose to showcase my Tableau Public profile, LinkedIn, and Medium from shields.io. Shields.io has many logos, just copy and paste the corresponding link:
<div id="badges"> <a href="[link to your LinkedIn profile]"> <img src="https://img.shields.io/badge/LinkedIn-blue?style=for-the-badge&logo=linkedin&logoColor=white" alt="LinkedIn Badge"/> </a> <a href="[link to your Medium profile]"> <img src="https://img.shields.io/badge/Medium-white?style=for-the-badge&logo=medium&logoColor=black" alt="Medium Badge"/> </a> <a href="[link to your Tableau profile]"> <img src="https://img.shields.io/badge/tableau-navy?style=for-the-badge&logo=tableau&logoColor=white" alt="Tableau Badge"/> </a></div>
My Profile:

Step 3: Include a short bio
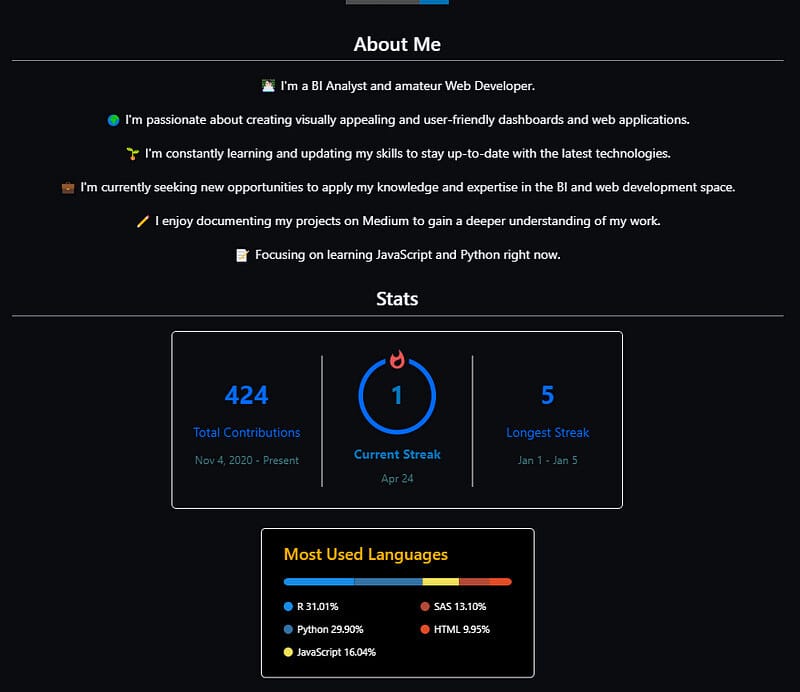
Write a short bio about yourself using the following HTML code:
<div id="bio"> <h2>About Me</h2> <ul> <li>I'm a [your job title] and [your interests/hobbies]</li> <li>I'm passionate about [what you're passionate about]</li> <li>I'm constantly learning and updating my skills to stay up-to-date with the latest technologies.</li> <li>I'm currently seeking new opportunities to apply my knowledge and expertise in the [your field] space.</li> <li>I enjoy documenting my projects on Medium to gain a deeper understanding of my work.</li> <li>Focusing on learning [languages or technologies you're currently studying] right now.</li> </ul></div>
Step 4: Showcase your stats
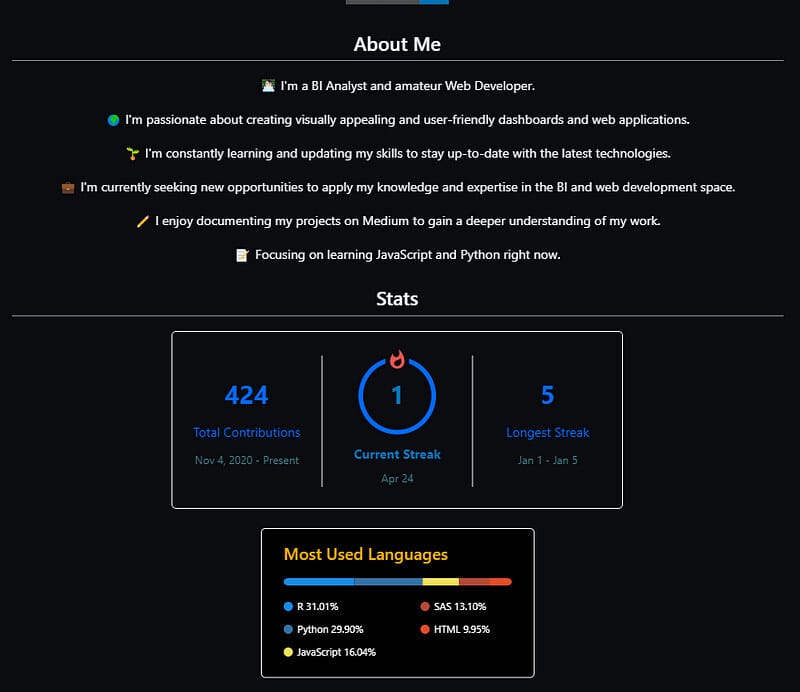
Showcase your GitHub statistics using the following HTML code, there are many different stat cards out there, just go to any GitHub repository in that link that you like:
<div id="stats"> <h2>Stats</h2> <img src="https://streak-stats.demolab.com?user=[your username]&theme=transparent&fire=EB5454" alt="GitHub Streak"/> <img src="https://github-readme-stats.vercel.app/api/top-langs/?username=[your username]&layout=compact&theme=vision-friendly-dark" alt="Top Languages"/></div>
My Profile:

Step 5: List your skills and devicons
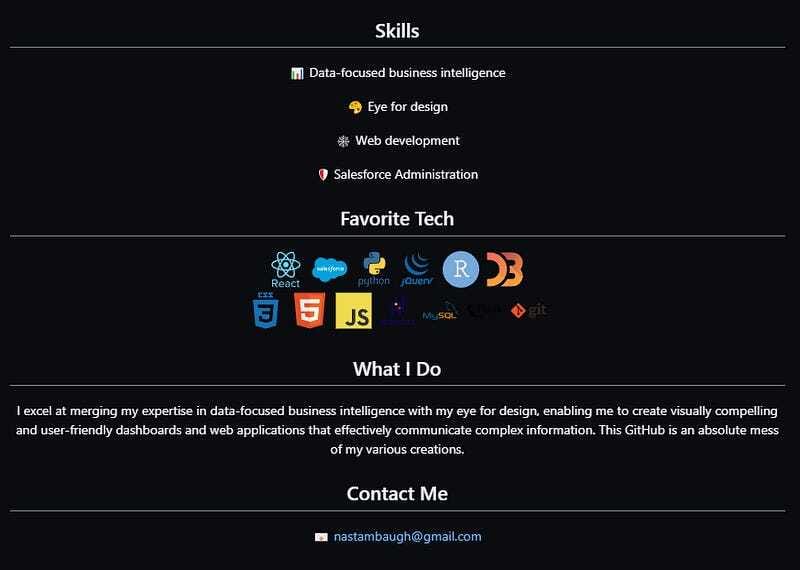
List your skills quickly using the following HTML code:
<div id="skills"> <h2>Skills</h2> <ul> <li>[your first skill]</li> <li>[your second skill]</li> <li>[your third skill]</li> <li>[your fourth skill]</li> </ul></div>
Using devicons in your GitHub README is a great way to showcase your favorite technologies and tools.
Devicons is a library of simple icons for popular programming languages, frameworks, and tools, which can be easily integrated into your HTML code.
Here’s an example code snippet to add your favorite tech icons to your GitHub README using devicons:
## Favorite Tech<div> <img src="https://github.com/devicons/devicon/blob/master/icons/react/react-original-wordmark.svg" title="React" alt="React" width="40" height="40"/> <img src="https://github.com/devicons/devicon/blob/master/icons/salesforce/salesforce-original.svg" title="SF" alt="sf" width="40" height="40"/> <img src="https://github.com/devicons/devicon/blob/master/icons/python/python-original-wordmark.svg" title="Python" alt="Py" width="40" height="40"/> <img src="https://github.com/devicons/devicon/blob/master/icons/jquery/jquery-plain-wordmark.svg" title="JQuery" alt="JQuery" width="40" height="40"/> <img src="https://github.com/devicons/devicon/blob/master/icons/rstudio/rstudio-original.svg" title="R" alt="R" width="40" height="40"/> <img src="https://github.com/devicons/devicon/blob/master/icons/d3js/d3js-original.svg" title="D3" alt="D3" width="40" height="40"/> <div>
My Profile:

Step 6: Activate your README
If you missed step 0, I got you covered!
In order to activate the README file on your GitHub profile, you need to create a new repository with the same name as your GitHub username.
For example, if your GitHub username is “example_user,” you should create a new repository named “example_user”.
Once the repository is created, you can add your README.md file to the repository, commit the changes, and push them to the remote repository.
Then, navigate to your GitHub profile, and you should see your README file displayed at the top of your profile.
If it doesn’t show up, make sure the file is named “README.md” and the repository name matches your username.
Remember, this is a great way to showcase your skills and interests to potential employers or collaborators on GitHub!
Conclusion
I think you get the gist of it now! With a little bit of HTML, we can spruce up our GitHub README greatly.
View My GitHub, which I use as an example for this blog.
Remarks
Not financial advice. You should seek a professional before making any financial decisions.