raylib
If you’re not familiar with C or Raylib, don’t worry!
Raylib is a low-level library intended for creating simple video games. We will use it differently today since its abstractions are so powerful.
We’ll break down the code step by step, explaining the key concepts and techniques used to bring this soothing application to life.
Some of you older folk may remember a certain software called Xsnow that was included in Linux distributions in the late 90’s and 2000's.

Xsnow
This will serve as our inspiration moving forward.
Understanding the Data Structure
At the heart of the program lies the Snowdrop structure, defined as follows:
typedef struct {
    Vector2 position;
    float speed;
    float windSpeed;
} Snowdrop;
This structure represents each snowdrop in the simulation. It contains the snowdrop’s position (position), falling speed (speed), and horizontal wind speed (windSpeed).
By using a custom structure, we can easily manage and manipulate the properties of each snowdrop.
Setting Up the Parameters
The program allows customization of the snow’s appearance and behavior through a set of global variables:
Color snowColor = (Color){0, 0, 0, 200};
int snowDropSize = 10;
int snowDensity = MAX_DROPS;
These variables control the color of the snowdrops (snowColor), their size (snowDropSize), and the number of snowdrops displayed on the screen (snowDensity).
By modifying these values, you can create different variations of the snow simulation.
Drawing the UI
The DrawUI function is responsible for rendering the user interface elements on the screen.
It creates buttons for adjusting the snow color, drop size, and density.
The button positions and dimensions are defined using rectangles, and the button labels are drawn using the DrawText function from Raylib.
void DrawUI() {
    // ...
    DrawRectangle(padding, padding, 200, 120,
                  (Color){0, 0, 0, 200});
    // ...
    DrawRectangleRec((Rectangle){colorButtonPos.x, colorButtonPos.y, buttonWidth, buttonHeight}, snowColor);
    DrawText("snow Color", colorButtonPos.x + buttonWidth / 2 - MeasureText("snow Color", 10) / 2,
                           colorButtonPos.y + buttonHeight / 2 - 5, 10, WHITE);
    // ...
}
The Main Loop
The main function serves as the entry point of the program. It initializes the window, sets up the snowdrops, and enters the main game loop.
Within the loop, the program updates the position of each snowdrop based on its speed and wind speed.
If a snowdrop reaches the bottom of the screen, its position is reset to the top.
while (!WindowShouldClose()) {
    for (int i = 0; i < MAX_DROPS; i++) {
        drops[i].position.y += drops[i].speed;
        drops[i].position.x += drops[i].windSpeed;

        if (drops[i].position.y > screenHeight) {
            drops[i].position.y = GetRandomValue(-screenHeight, 0);
            drops[i].position.x = GetRandomValue(0, screenWidth);
        }
    }
    // ...
}
Interaction
The program allows the user to interact with the simulation by clicking on the buttons in the user interface.
When a button is clicked, the corresponding snow parameter is updated accordingly.
For example, clicking the color button cycles through different colors, while clicking the size and density buttons modifies the snowdrop size and the number of snowdrops displayed.
if (IsMouseButtonPressed(MOUSE_BUTTON_LEFT)) {
    Vector2 mousePos = GetMousePosition();
    Rectangle colorButton = {10, 10, 100, 30};
    if (CheckCollisionPointRec(mousePos, colorButton)) {
        // Cycle through colors when the color button is clicked
        snowColor = (Color){ (unsigned char)(snowColor.r + 50 > 255 ? 100 : snowColor.r + 50),
                             (unsigned char)(snowColor.g + 50 > 255 ? 100 : snowColor.g + 50),
                             (unsigned char)(snowColor.b + 50 > 255 ? 100 : snowColor.b + 50),
                             255 };
    }
    // ...
}
Drawing the snowdrops
Finally, the program renders the snowdrops on the screen using the DrawCircle function from Raylib.
The position, size, and color of each snowdrop are determined by the corresponding values in the snowdrop structure and the global variables.
BeginDrawing();
ClearBackground(BLACK);
for (int i = 0; i < snowDensity; i++) {
    DrawCircle(drops[i].position.x, drops[i].position.y,
                snowDropSize / 2, snowColor);
}
DrawUI();
EndDrawing();
Eventually…

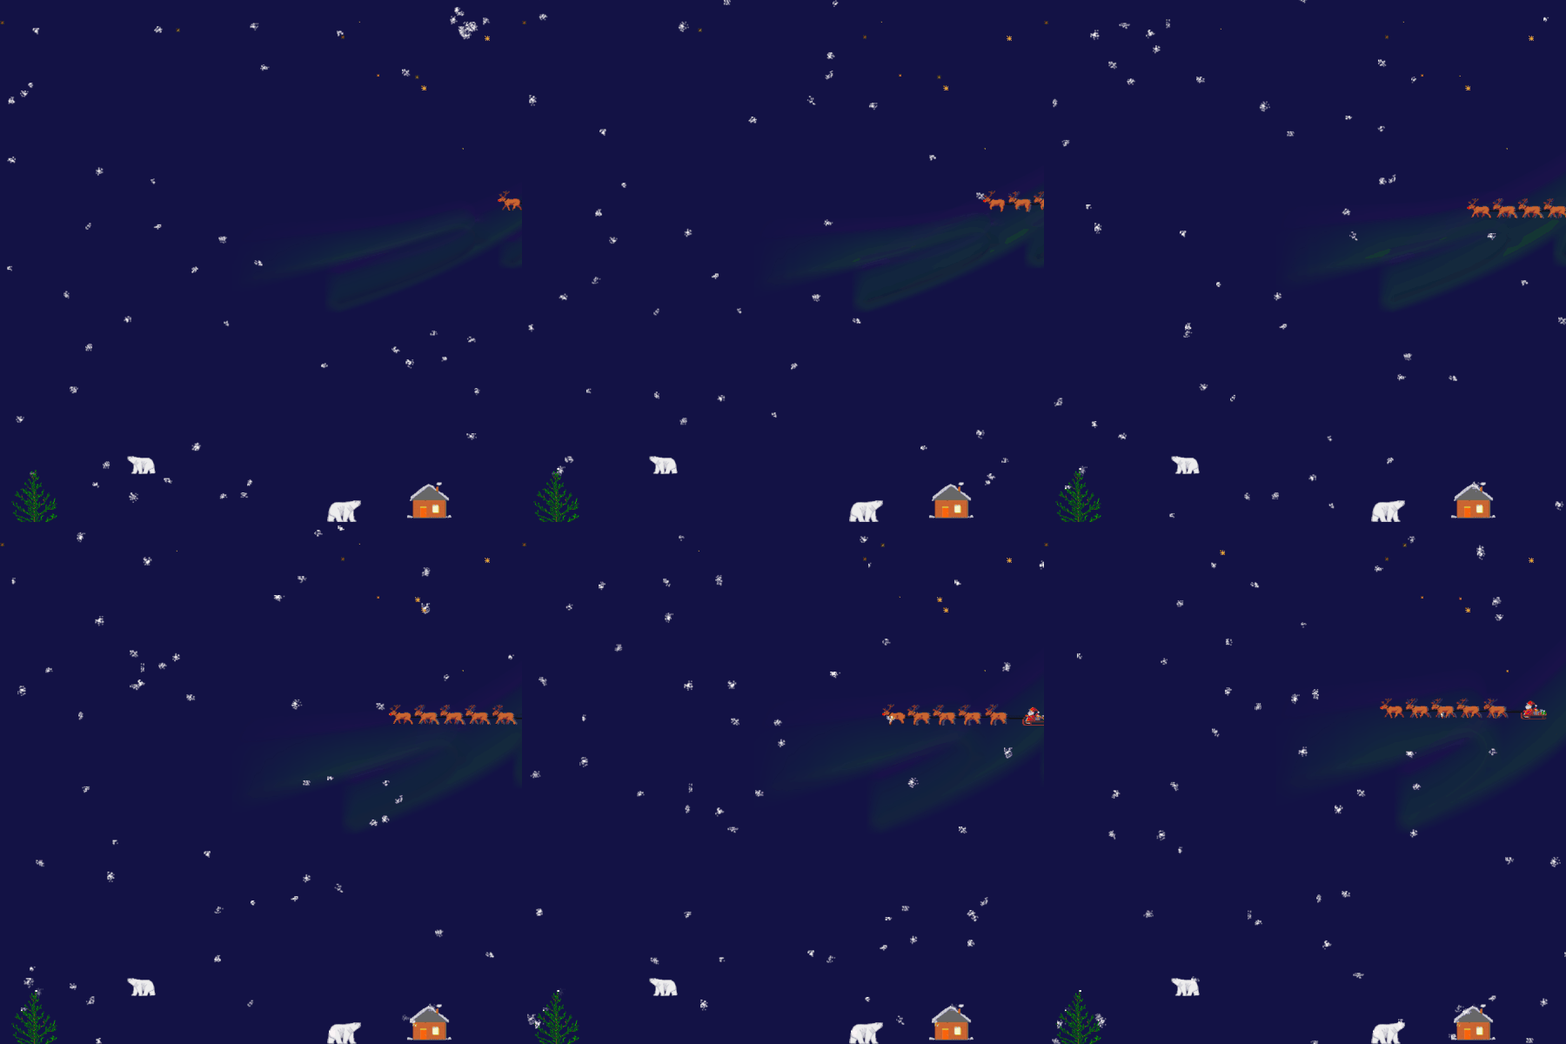
the final product
Conclusion
This C program demonstrates how to create a captivating snow simulation using the Raylib library.
By leveraging structures, global variables, and user interaction, the program provides a visually appealing and customizable experience.
The code showcases the power of C in creating interactive graphical applications, even for those who may not be familiar with the language.
-Nick
Subscribe for more stories like this one below!
